So, you now have a personal wallet within Genome; what’s next? By the way, if you have any issues applying, check out our tutorial on how to start a personal account.
After the wallet opening, the first thing you need to know is how to top up your account and send money to other users.
The top up
Press the plus sign under the “top up” title on the dashboard.
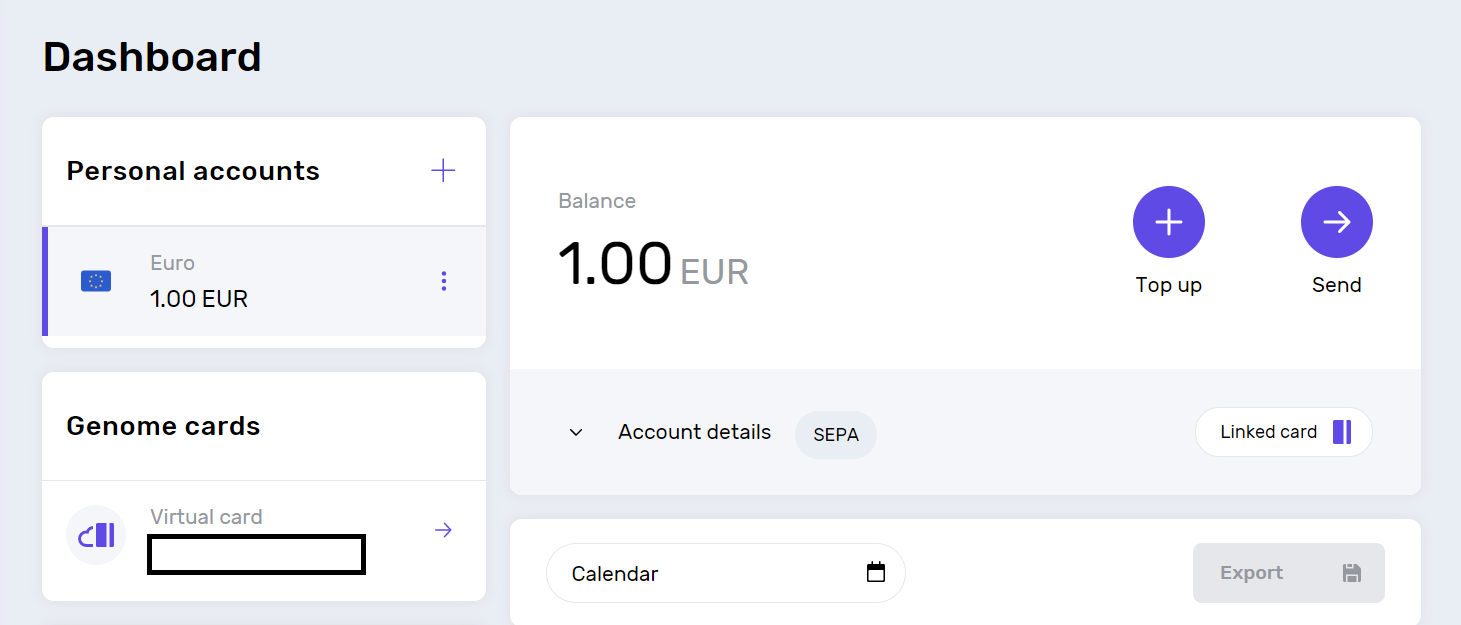
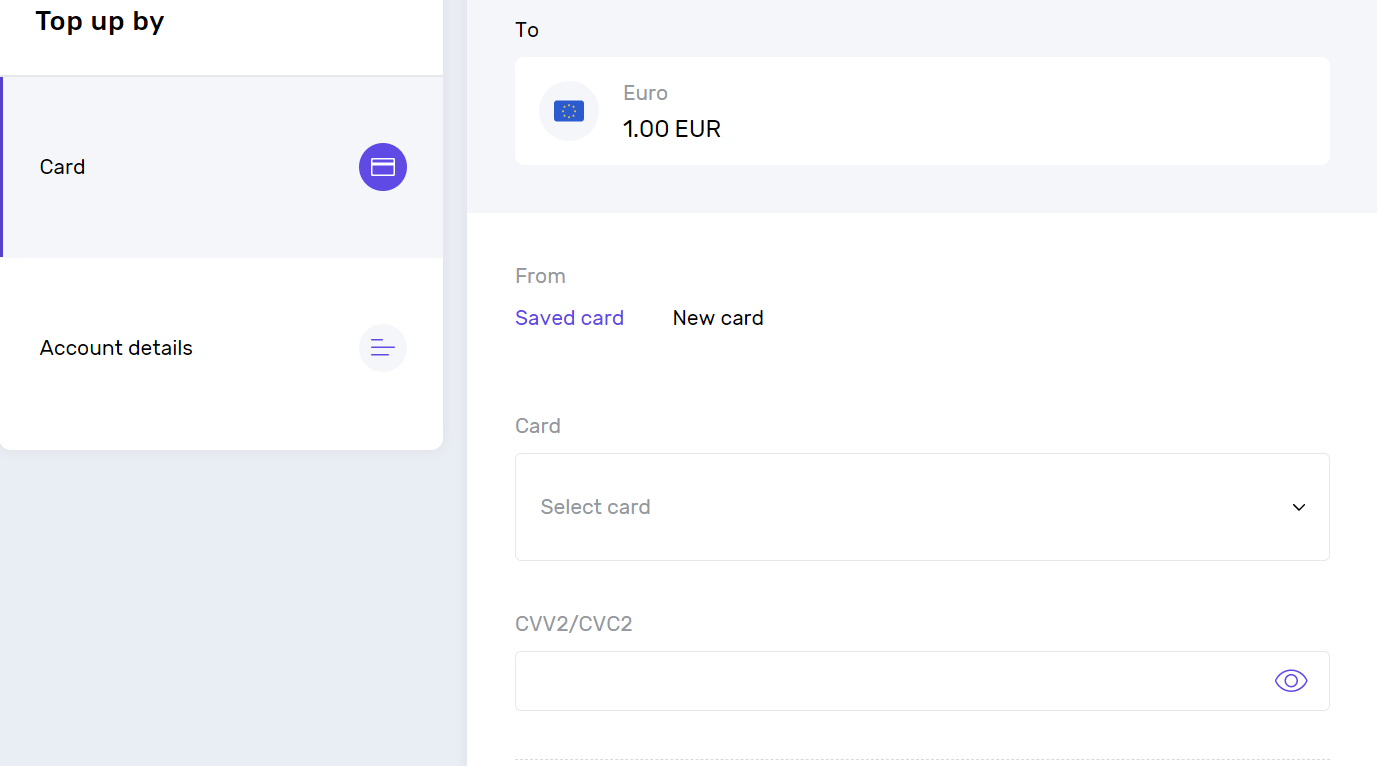
From there, you can top up your account using a bank card. Choose the new card option and fill in the card number, expiry date, CVV2/CVC2, cardholder name, and the amount. You can tick the “save the card for future use” box to keep the card used among saved ones.
Also, this section contains all the necessary account details: your IBAN, SWIFT number, FIC, the account owner and their address, as well as the bank issuer and its address. If anyone wants to send you a SEPA bank transfer – share said details.
Money transfers
Click on the right-pointing arrow under the “send” title on your dashboard.
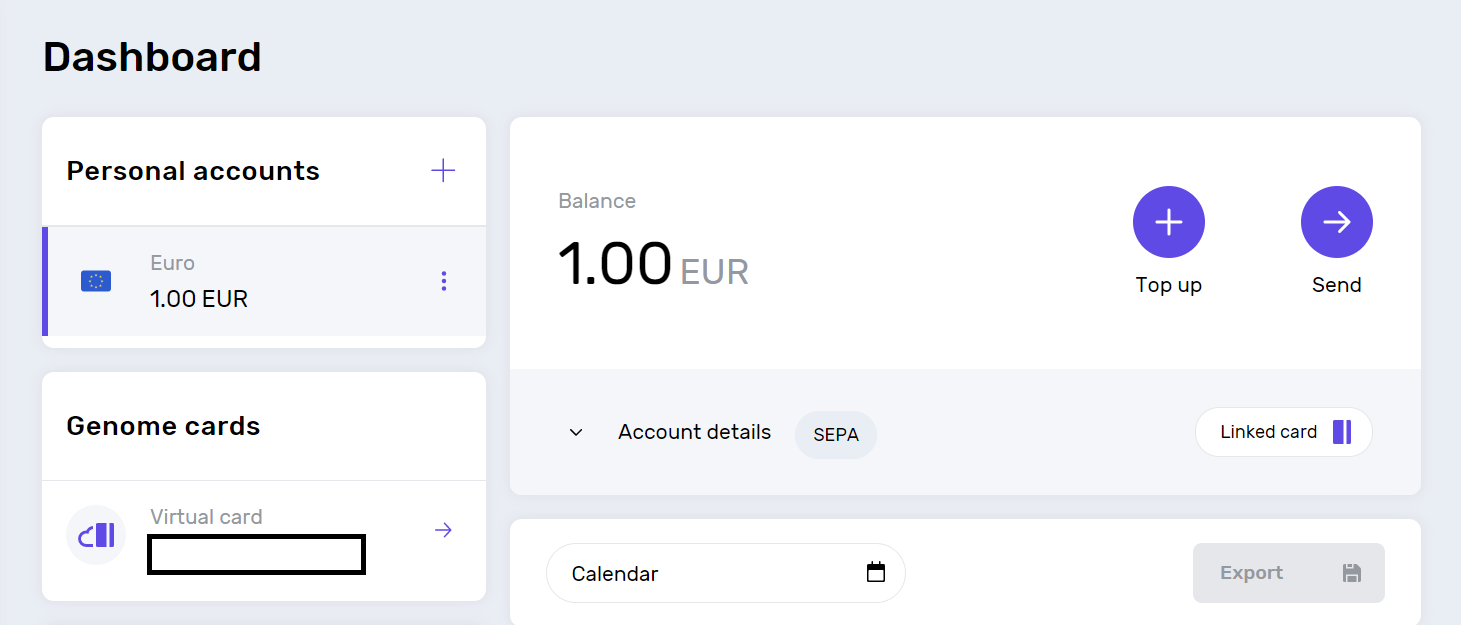
Here, you have three options: send money to a particular bank account, another Genome user, or your account. Let’s take a look at all of them:
Bank account transfers
These allow sending funds to people with accounts at other banks and financial institutions.
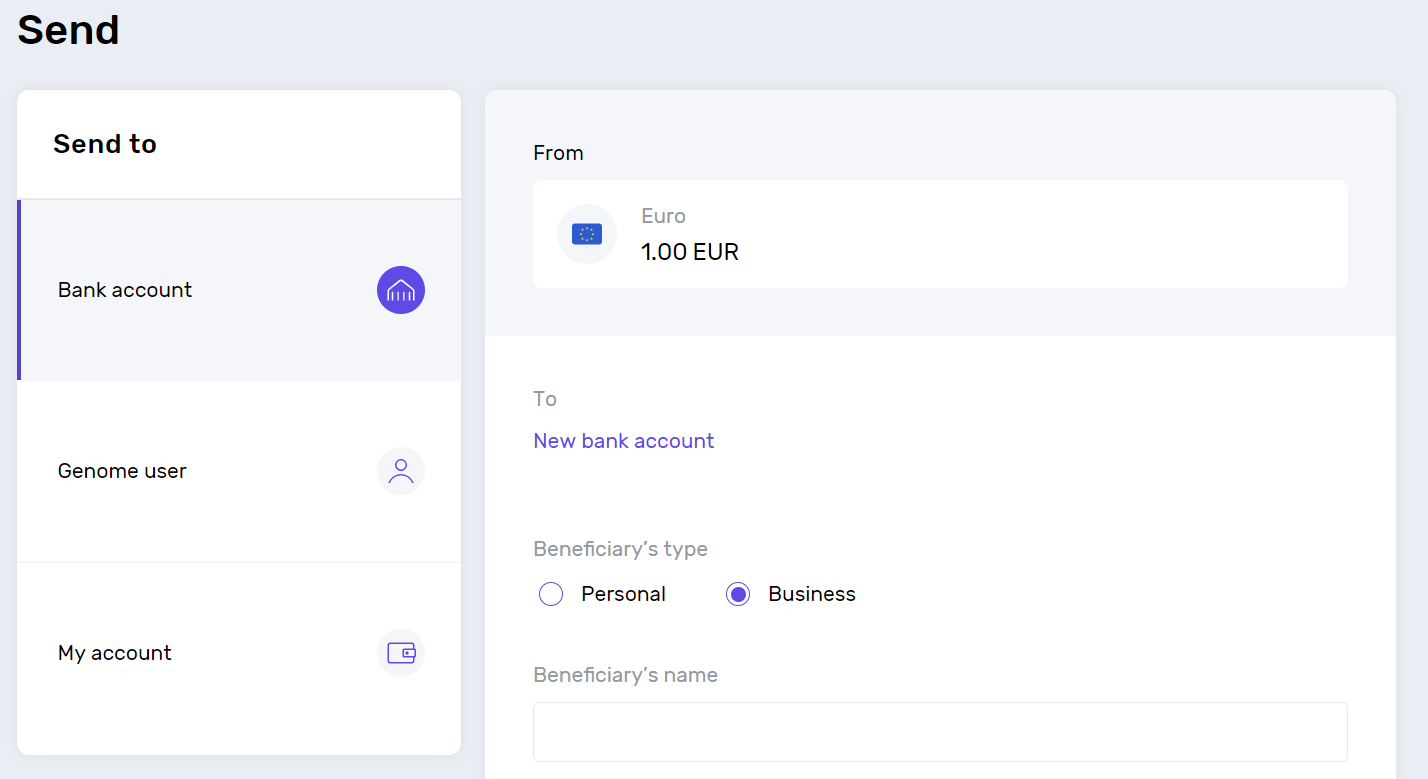
To make a transfer, you first need to choose the beneficiary type – personal (if you send money to an individual) or business (sending money to a particular company).
Then, fill in the beneficiary’s name, account number or IBAN, amount, and payment description. The SWIFT code is filled in automatically. Also, please enter the beneficiary’s country, city, and address, choose the payment date.
Please note: these transfers are only available for users within the SEPA zone. If you need to constantly send money to a friend or a family member that lives outside the zone, there is a solution. They can start a personal wallet within Genome as well so that you can send funds to them instantly. More on that – below.
Instant transfers (between Genome users)
These allow sending money within minutes to other Genome users and require minimum information.
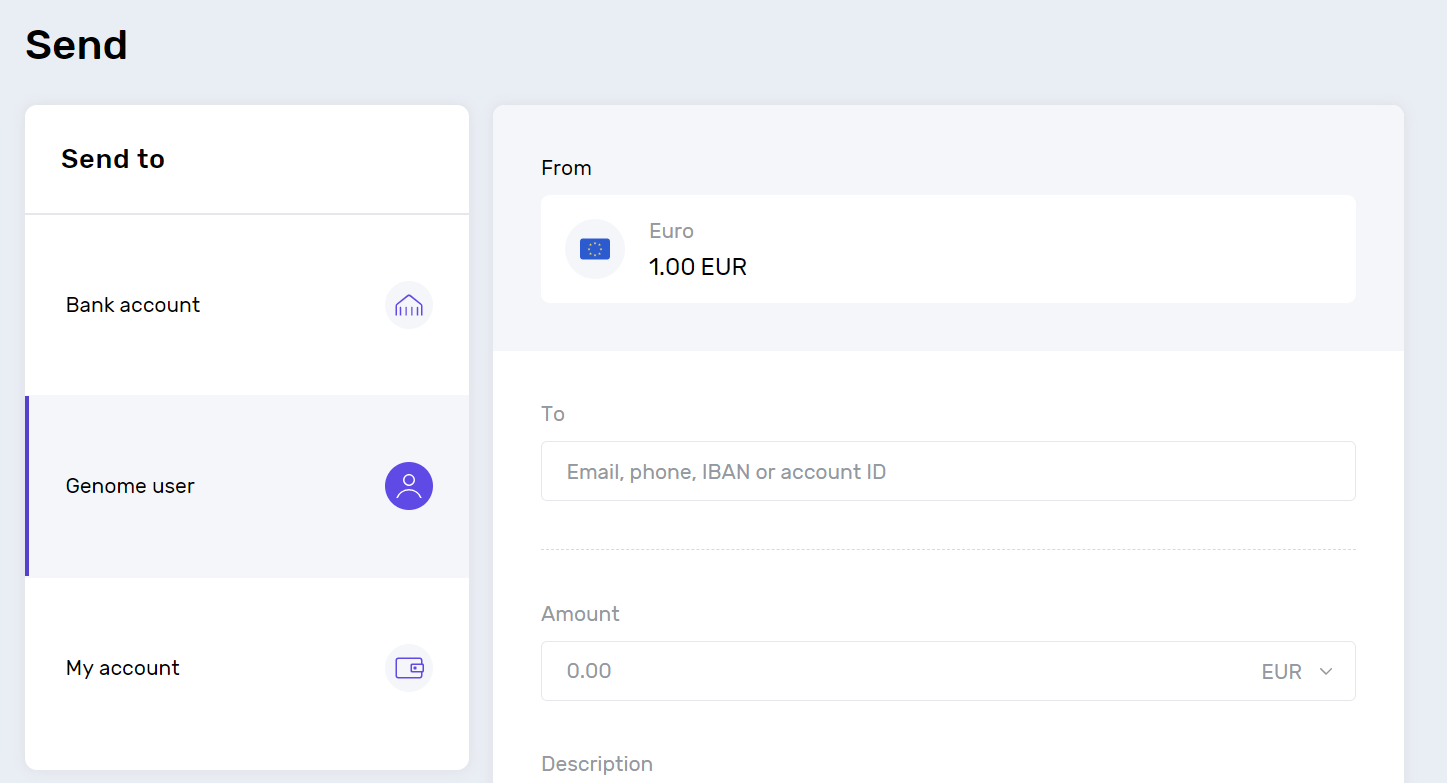
To proceed, fill in one of the following things about the beneficiary:
Email;
Phone number;
IBAN;
account ID.
Enter the amount and the payment description, and you are all set – the money will reach the receiver in minutes.
Transfers to your accounts
Before describing this option, note that your first account within a wallet will be in EUR. If you need accounts in USD or GBP, you can easily add them to the dashboard. You will see a plus sign near the “personal accounts” section, click on it. There, choose the preferred currency for the account and add it within seconds. You can have up to 5 accounts in each currency: EUR, GBP, USD.
So, when you have more than one account, you can transfer funds between them.
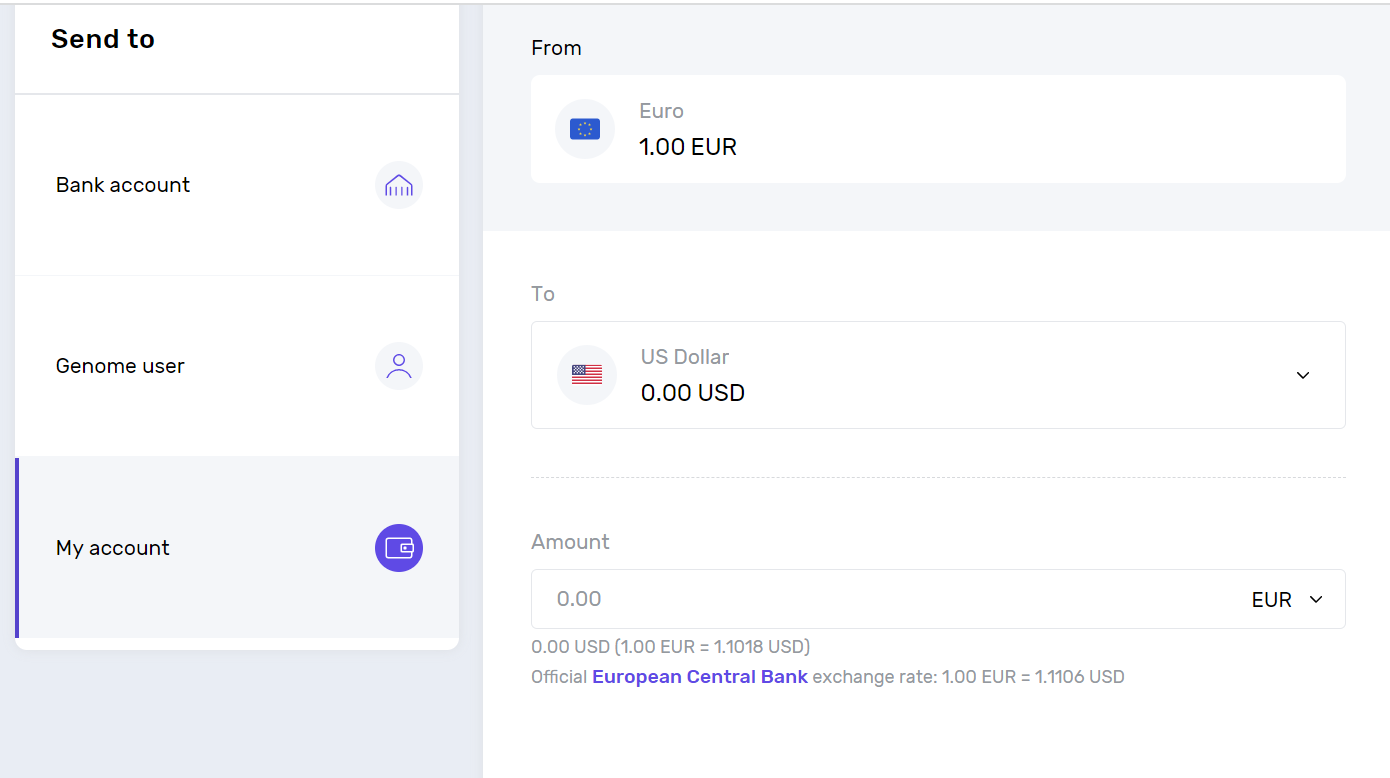
First of all, choose accounts you send money from and to. Then, enter the amount – below the field, you will see the exchange rates. Once you click send, the funds will arrive in your other account.
These are the main things to know regarding top-ups and transfers. If you have any issues during these processes, you can:
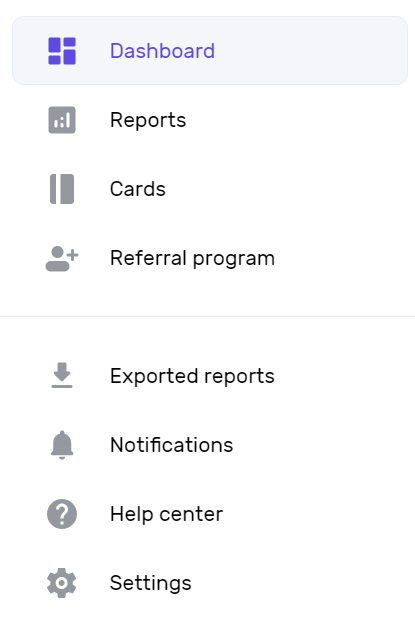
Go to the help center section in the left corner of your dashboard. There we gathered answers to the most common FAQs;
Contact your support manager directly via the live chat button in the right corner of the page;


